 Sold out
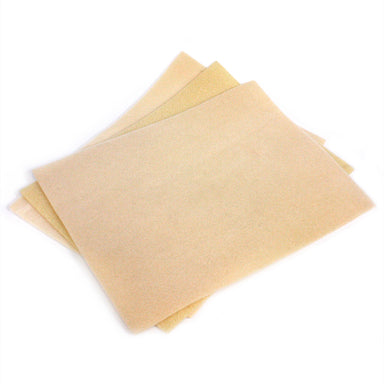
Bead Mat 325x325mm-Pack of 1
Bead Mat 325x325mm-Pack of 1Our handy bead mats are now coming from a new supplier, they're slightly smaller than those previously stocked but stil...
View full details
Approx 60 x 3mm Seed Beads - depending on the length you would like your bracelet. We used beads from our Macaron Seed Bead Box ( GLVUMX )
Size 11/0 Metallic Apricot Preciosa Seed Beads ( M1121 )
2 x 5mm Gold Plated Jump Rings ( JR5GP )
1 x Trigger Clasp & Extension Chain ( EXCH5GP )
2 x Size 13 Beading Needles ( ND13 )
A Sharp pair of Scissors (SCIMX)
A beading mat ( not essential, but very useful! ) ( BMT2 )
Legend
A - 3mm Seed Bead B - Size 11/0 Seed Beads

1. Take a comfortable length of stretched beading thread, thread one needle onto each end. Choose 1A that is narrow - (so that a jump ring can be looped through it for the clasp at a later stage), thread your 1A onto your thread, and position it in the middle. (Photo 1)

2. Pick up a regular size A, and thread it onto your right needle. (Photo 2)

3. Pass your left needle through the A from the previous step, in the opposite direction. (Photo 3)

4. Repeat step 2 and 3 until your beadwork is the length you wish your bracelet to be - minus 10mm. Make sure there is an even number of beads - this is very important. For the last A, choose a narrow bead - for the same reason as step 1. (Photo 4)

5. Pass your right needle around and back through the second bead along from the end. (Photo 5)

6. Pass your left needle around and and back through the second bead along from the end - in the opposite direction to the step before. (Photo 6)

7. We flipped our beadwork over at this point, as we found it easier to work with. On your right needle, pick up 2B, and pass through the next A. (Photo 7)

8. On your left needle, pick up 2B, and pass through the next A. (Photo 8)

9. Pass your right needle through the next A. (Photo 9)

10. Pass your left needle through the next A. (Photo 10)

11. Repeat steps 7-10 all the way along your bracelet. (Photo 11)

12. Finish repeating on a step 10, which should be your last bead. (Photo 12)

13. We flipped our beadwork over again, as we find it easier to work upwards. Pass your right needle through the next A, pass your left needle through the next A. (Photo 13)

14. On your right needle, pass through the next B, pick up 1B, pass through the next B and A. (Photo 14)

15. Repeat step 14 on the other side with your left needle. (Photo 15)

16. Pass your right needle through the next A, pass your left needle through the next A. (Photo 16)

17. Repeat steps 14-16, until you reach the end of your bracelet. Sew in and secure your threads.
18. Using chain nosed pliers, open up a jump ring, link it onto the end A, and to the end of the extension chain, and close the jump ring. (Photo 17)

19. Repeat step 18 at the other end of your bracelet, but with the trigger clasp. (Photo 18)

 Sold out
Bead Mat 325x325mm-Pack of 1Our handy bead mats are now coming from a new supplier, they're slightly smaller than those previously stocked but stil...
View full details SALE
SALE
A packet of four high quality hard beading needles in size 13, perfect for use with very fine threads such as Nymo or Super lon D.
 SALE
SALE
Extension chains are a great addition to most necklaces, allowing you to vary the length to suit your outfit. Particularly useful if making chokers...
View full details
 SALE
SALE
A fabulous selection of tonal 3mm seed beads, 15g of each colour all in a handy storage box. These beads are perfect for bead embroidery, being use...
View full details
 SALE
SALE
Seed beads are very small glass beads, also known as rocailles.Seed beads are ideal for making jewellery, they are used for mostly bead weaving whe...
View full details
